In traditional servers, you typically use a web server like NGINX or Apache to route HTTP traffic to your Laravel application. However, when using an AWS serverless infrastructure powered by Vapor, you have three different options to consider when determining how to route traffic to your application: API Gateway v1, API Gateway v2, and Load Balancers.
In this article, we are going to compare these three options in terms of performance, pricing, and features.
API Gateway v1
By default, Vapor routes HTTP traffic to your serverless applications using API Gateway v1. If your application's vapor.yml file does not contain a gateway-version or balancer configuration option, you are already using API Gateway v1.
API Gateway v1 is the only edge-optimized option Vapor offers. An edge-optimized API endpoint is the best option for geographically distributed clients, as HTTP requests are routed to the nearest CloudFront Point of Presence.
API Gateway v1 follows the pay-as-you-go pricing model, charging $3.50 / million requests. This is the most expensive (at scale) traffic routing option between the three options offered by Vapor.
To ensure you are using API Gateway v1 in your Vapor environment, you may simply omit the gateway-version and balancer options, or specify gateway-version: 1 explicitly in your application's vapor.yml file:
id: 2
name: your-project
environments:
    production:
        gateway-version: 1
API Gateway v2
API Gateway v2 is a cheaper and faster alternative to API Gateway v1, providing up to 60% less connection overhead.
Yet, this option is a regional API endpoint. This means that customers near your project region can expect speed improvements, while customers far away from your project region may not reap the same benefits.
One limitation of API Gateway v2 is that it does not support Vapor's managed Firewalls - a feature that provides basic protection against denial-of-service attacks and pervasive bot traffic that can consume your environment's resources. In addition, you will need to handle the HTTP to HTTPS redirection yourself when using API Gateway v2.
As a workaround to these limitations, we currently suggest using Cloudflare as an external DNS provider for your Vapor application's using API Gateway v2, as you may use Cloudflare's Firewall and HTTP to HTTPS redirection solutions.
API Gateway v2 also follows the pay-as-you-go pricing model, charging $1.00 / million requests. Most customers can expect an average cost saving up to 70% compared to API Gateway v1.
If you would like to use API Gateway v2, you may specify the gateway-version: 2 configuration option for a given environment in your application's vapor.yml file:
id: 2
name: your-project
environments:
    production:
        gateway-version: 2
Load Balancers
Just like API gateway v2, an application load balancer (ALB) is a regional option. However, unlike API Gateway v2, load balancers support Vapor's managed Firewalls and HTTP to HTTPS redirection.
However, when using load balancers to serve traffic to your application, you must be mindful of Amazon's request / response size limitations. Load balancers can receive / send a maximum of 1MB of content, while API Gateway v1/v2 can support up to 6MB requests / responses.
Unlike the previous two options, load balancers use a fixed pricing model, providing large cost savings at scale. For example, if an application receives 1 billion requests per month, a load balancer will save about $4,000 on the application's monthly AWS bill.
For applications receiving a ton of traffic, using a load balancer is more cost-effective than other options offered by Vapor and AWS. Otherwise, most applications should use API Gateway v1 / v2.
You may create load balancers using the Vapor UI or using the balancer CLI command:
vapor balancer my-balancer
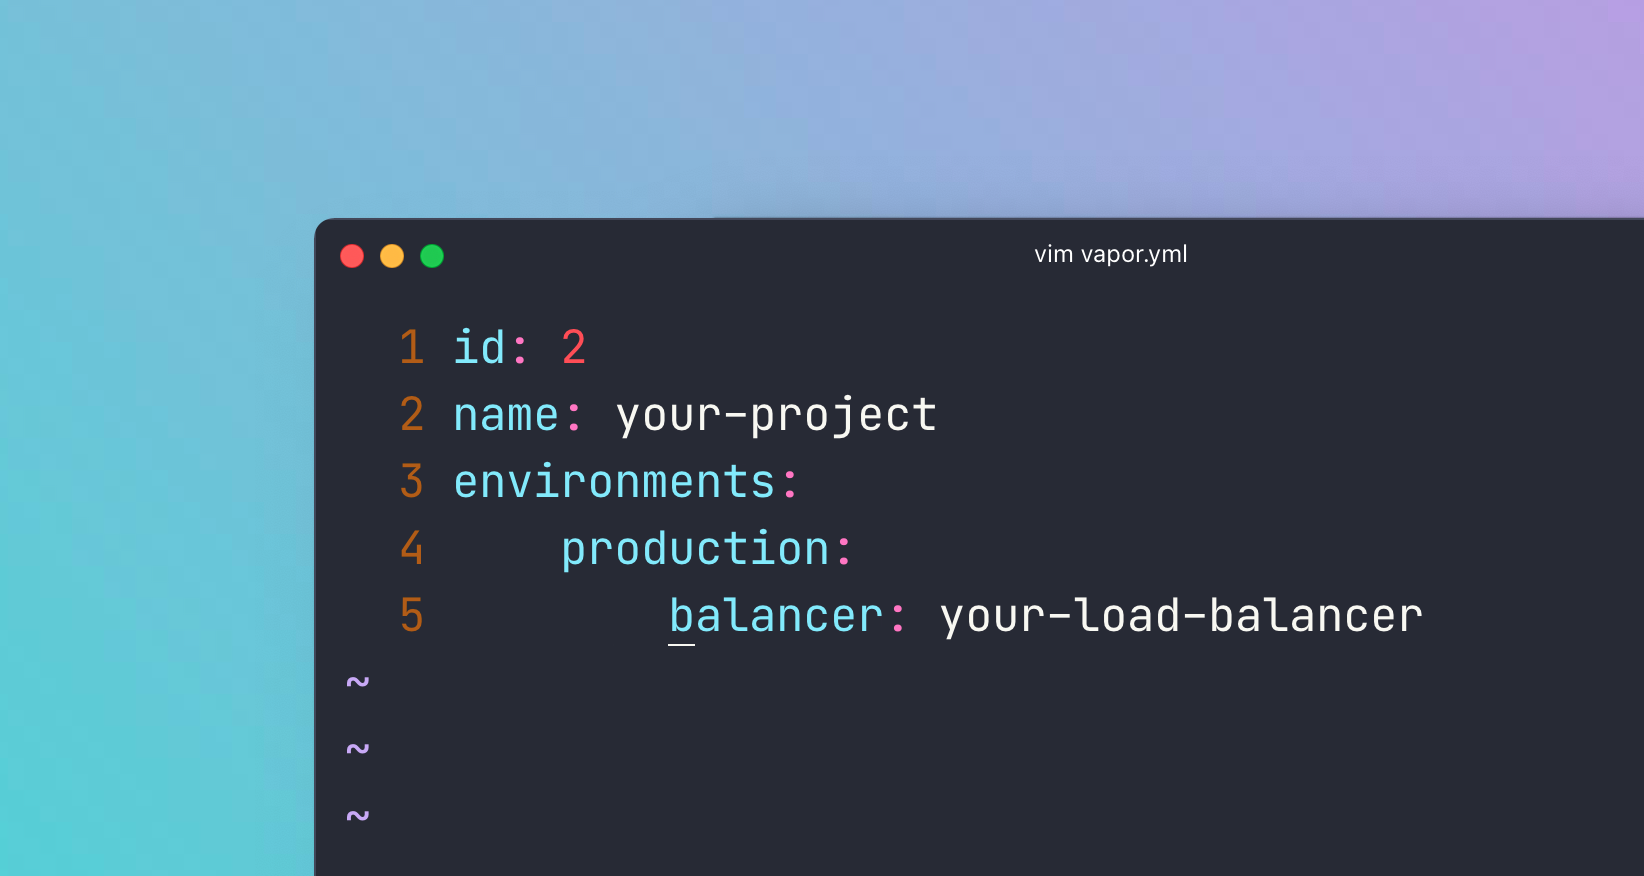
To attach a load balancer to an environment, add a balancer entry to the environment's configuration in your vapor.yml file and deploy your application:
id: 2
name: your-project
environments:
    production:
        balancer: your-load-balancer
Conclusion
At Laravel, we're committed to providing you with the most robust and developer-friendly serverless experience in the world. In this article, you can see how easy is to choose and manage the way you want AWS to handle the HTTP traffic to your Laravel application powered by Vapor. Give these options a try and let us know out it goes!
We hope you enjoyed this article. If you haven't checked out Vapor, now is a great time to start! You can create your account today at: vapor.laravel.com.

