


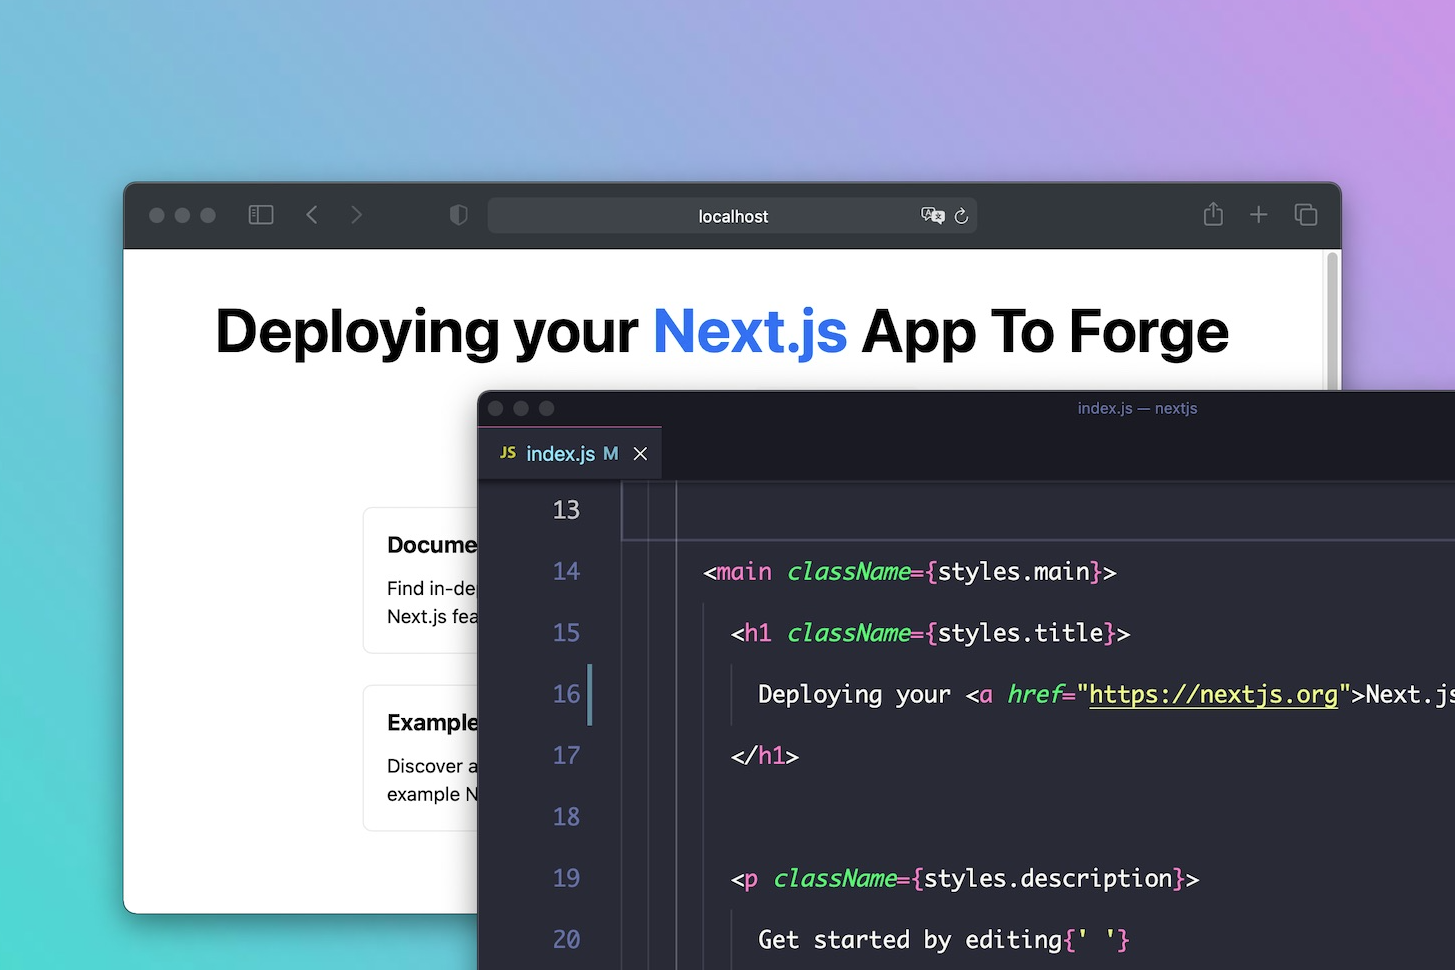
Next.js is a React framework developed by Vercel. It includes functionality such as server-side rendering and static site generation. Today we’ll explain how you can deploy your Next.js application with Laravel Forge.
If you’re following along with your own Forge server, ensure that the server is a “App” or “Web” server so that Nginx is installed.
In this post, we’ll explain how to deploy your site using the Next.js server-side rendering feature.
Creating An Nginx Template
To use server-side rendering, we first need to create a new Nginx Template in Forge. We’re using an Nginx Template here so that we don’t need to modify our site’s Nginx configuration later.
We’ll create a new template with a name of “Next.js App” and then update the contents of our template:
# FORGE CONFIG (DO NOT REMOVE!)
include forge-conf/{{ SITE }}/before/*;

server {
    listen {{ PORT }};
    listen {{ PORT_V6 }};
    server_name {{ DOMAINS }};
    server_tokens off;
    root {{ PATH }};


# FORGE SSL (DO NOT REMOVE!)


# ssl_certificate;


# ssl_certificate_key;

    add_header X-Frame-Options "SAMEORIGIN";
    add_header X-XSS-Protection "1; mode=block";
    add_header X-Content-Type-Options "nosniff";

    index index.html index.htm;

    charset utf-8;


# FORGE CONFIG (DO NOT REMOVE!)
    include forge-conf/{{ SITE }}/server/*;

    location / {
        proxy_pass http://127.0.0.1:3000;
    }

    location = /favicon.ico { access_log off; log_not_found off; }
    location = /robots.txt  { access_log off; log_not_found off; }

    access_log off;
    error_log  /var/log/nginx/{{ SITE }}-error.log error;

    location ~ /\.(?!well-known).* {
        deny all;
    }
}


# FORGE CONFIG (DO NOT REMOVE!)
include forge-conf/{{ SITE }}/after/*;
You may notice that the location / block is using proxy_pass. Server-side rendering in Next works similar to PHP, the server keeps a process running that generates the content and serves it to the client. With Next.js, we’re using Node, so we’ll pass our requests to the Next.js server via port 3000. You can change this based on your project requirements.
Creating The Site
With the Nginx Template created we can now create our site, making sure that we select the “Next.js App” Nginx Template option:

Once Forge has created the site, we can install our repository from our chosen Git provider.
Deployment Script
The next step is to update the site’s deployment script:
cd /home/forge/next-app-static.curved-feather.test
git pull origin $FORGE_SITE_BRANCH

npm install
We can now deploy our site with the updated script to have our NPM dependencies installed.
If we browse to our site now, Nginx will give us a 502 error. This is because we’ve yet to start the Next.js server. To do, this we’ll create a new Daemon on the server. For the daemon, we only need to provide the directory of our site and the command; npm run start.

Once the Daemon is configured and becomes active, we can visit our site and see that it is now working.